Starlink Wi-Fi and Whole-Property Coverage
This is the most common disappointment after a Starlink installation, and it is entirely predictable. The speed test at the router reads two hundred megabits. The bedroom at the far end of the house gets almost nothing. Nobody did anything wrong — the satellite link is working exactly as intended, and the problem is that people were sold a connection and assumed they were getting coverage.
The Starlink router is a single access point with a modest footprint, designed for a small, open, modern home. It is not competing with a properly designed network and was never meant to. Put it in a two-storey house with a finished basement, or a bungalow with plaster walls, or anything with foil-backed insulation, and it will run out of reach long before the satellite link runs out of capacity.
The fix is not a bigger router or a stack of extenders. It is to stop asking the Starlink router to be the whole network: put it into bypass mode, and feed a properly placed set of access points from it. That is a straightforward piece of work and it is what turns a good connection into a good experience.
Why coverage fails even when the connection is fine
Wi-Fi is radio, and radio is shaped by what it passes through. The materials that make a house comfortable are frequently the ones that stop signal.
Foil-backed sheathing and low-emissivity window coatings — standard in newer Alberta construction — are excellent insulators and effective radio barriers. Plaster and lath in older homes attenuates heavily. In-floor heating, tile, mirrors, concrete and steel all take their share. Two houses of identical size can need completely different access point counts, which is why estimating coverage from floor area does not work and why we survey instead.
There is a second, subtler failure. Even where signal reaches, a single router serving a whole property forces distant devices to hold a weak connection, and a weak connection consumes disproportionate airtime — which slows everything else down. Coverage problems and speed problems are frequently the same problem.
What bypass mode actually does
Bypass mode turns off the Starlink router's own Wi-Fi and routing, and hands the connection straight through to equipment of your choosing. It is the single most important step in building a proper network behind Starlink, and it is reversible at any time.
Without it you end up with two routers in series, each running its own network — a condition that causes double NAT, breaks port forwarding and some VPN configurations, and produces devices that connect to the wrong network name and then behave inexplicably. With it, your own router or controller manages one coherent network and the Starlink hardware simply delivers the connection.
- Removes double NAT, which otherwise breaks VPNs, port forwarding and some applications
- One network name across the whole property, so devices roam instead of clinging
- Lets you use business access points, VLANs and proper firewall rules
- Makes adding cellular failover or bonding straightforward later
- Fully reversible — the Starlink router can be brought back at any point
Mesh or wired access points?
Both work. They fail in different ways, and the honest answer depends on whether cable can be run.
A wired access point has a dedicated Ethernet connection back to the network, so all of its radio time goes to serving your devices. A mesh node talks to the main unit over the air, which means it spends part of its radio capacity on that backhaul, and throughput drops with each hop. In a building where cable can be run, wired access points cost about the same and perform substantially better.
Mesh is the right answer where running cable is genuinely impractical — a finished home with no accessible cavities, a rental, a heritage property. It is a real solution, not a compromise to be embarrassed about. What does not work is stacking extenders: each one roughly halves throughput, usually presents its own network name, and adds interference. That is the setup we are most often called in to replace.
- Wired access points
- Ethernet to each unit, powered over the same cable. The best performance, the most predictable behaviour, and the right choice wherever cable can be run. This is what we install in most homes and effectively all commercial sites.
- Mesh with wireless backhaul
- Nodes linked over the air. Genuinely useful where cable cannot be run. Keep hops to a minimum, place nodes where they still receive a strong signal rather than at the edge of coverage, and expect reduced throughput at the far end.
- Mesh with wired backhaul
- Mesh hardware with Ethernet between nodes. Combines simple management with wired performance, and is often the practical middle ground in a home where some but not all runs are possible.
- Range extenders
- We do not recommend them. Roughly half the throughput, a separate network name that devices cling to, and additional interference. One may rescue a single stubborn corner; two or more is the most common cause of a network that looks connected and behaves badly.
Covering outbuildings, yards and shops
On rural and acreage properties this is usually the larger half of the job. Signal will not cross a yard, and it certainly will not pass through metal cladding — a metal-clad shop is close to a complete radio barrier from the outside.
The reliable approaches are buried or conduit-protected Ethernet to an access point inside the building, or a directional point-to-point link between buildings where trenching is impractical. Outdoor coverage uses sealed, temperature-rated access points on exterior mounts. All of it works through Alberta winters provided the hardware is rated for it and mounted properly.
- Buried or conduit-protected Ethernet to shops, barns and outbuildings
- Directional point-to-point links where cable cannot be run
- Outdoor-rated, temperature-tolerant access points for yards and work areas
- Surge protection at every building transition on buried runs
- Separate network segment for cameras and monitoring equipment
How the work runs
Coverage survey
We measure actual signal, noise and channel congestion through the property and find where coverage fails rather than where it is assumed to.
Bypass and network design
Starlink router set to bypass, and an access point layout designed from the survey — counts, positions, mounting and cable routes.
Cabling and installation
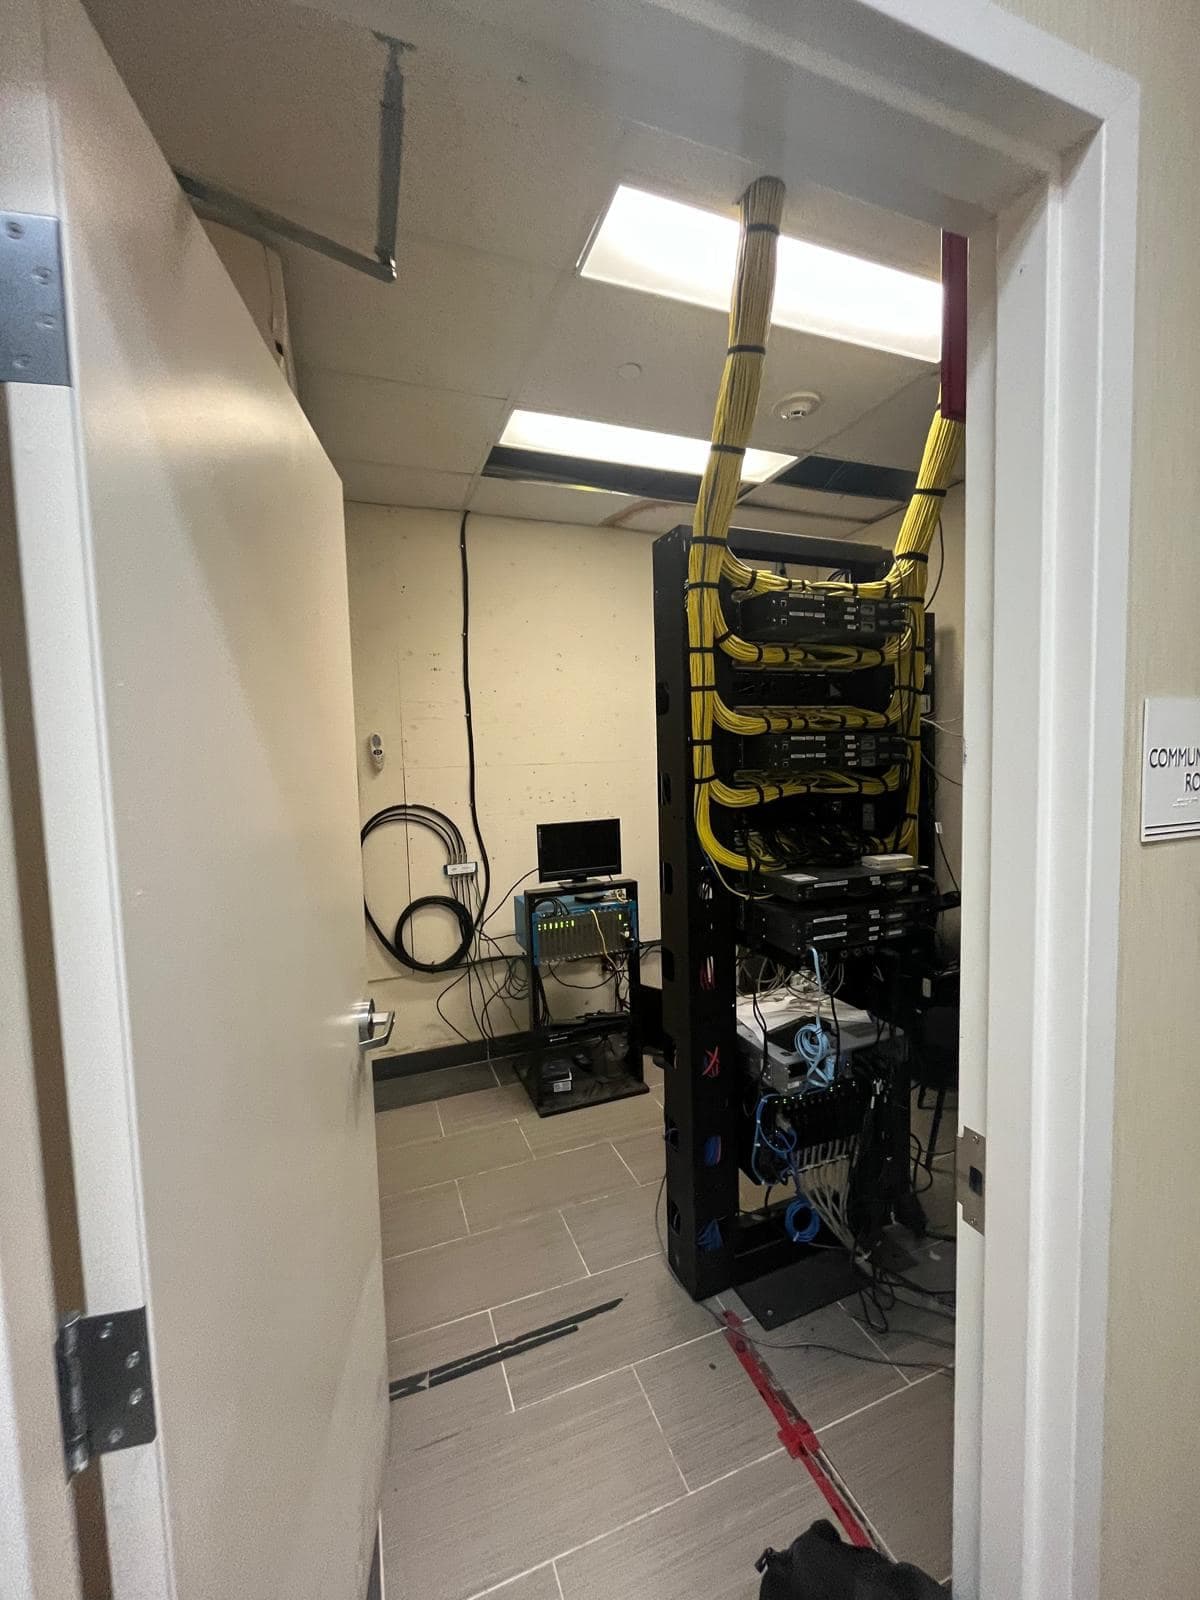
Ethernet run to each access point position and terminated, units mounted to ceiling, wall or outdoor hardware and powered over the same cable.
Tuning and walk test
Channels, power levels, roaming and guest isolation configured, then a coverage walk through every area you actually use.
Frequently Asked Questions
More on Starlink
The rest of the guide. Each page answers a different question.
Starlink Installation
The main guide — obstruction surveys, mounting, cable routing and network setup across Alberta.
Starlink installationEdmonton
Edmonton-specific Starlink installation: mature canopy obstruction surveys, snow-shed-aware mounting and sealed cable entry for our climate.
EdmontonCommercial & Business
Business-grade Starlink deployments integrated into a real network, with failover, documentation and support — not a residential dish on a commercial building.
Commercial & BusinessRural & Acreage
For acreages, farms and rural properties: wind-rated mounting, long cable runs, and coverage that reaches the shop and barn rather than stopping at the house.
Rural & AcreageMounting Options
Roof, pole, wall, ground and non-penetrating mounts compared honestly — including which ones we would not recommend and why.
Mounting OptionsCable Routing
Routing the cable properly: attic, basement and conduit routes, sealed entry points and drip loops that keep water out of your wall.
Cable RoutingTroubleshooting & Repair
Diagnosing why a working Starlink stopped working — obstruction, cable, power or Wi-Fi. The three have completely different fixes.
Troubleshooting & RepairInstallation Cost
An honest breakdown of what drives installation price, what the Alberta market looks like, and where cheap quotes get expensive.
Installation Cost
Services That Go With This
The work customers most often need alongside a Starlink installation.
Wi-Fi Installation
Surveyed access point layouts that fix dead zones properly — for houses, offices, warehouses, metal shops and outdoor yards.
Wi-Fi InstallationStructured Cabling
Cat6, Cat6A and fibre cabling installed to standard, terminated to labelled patch panels, tested and documented.
Structured CablingStarlink Installation
Obstruction surveys, secure mounting, weather-sealed cable entry and full network setup for Starlink dishes on homes, businesses and remote sites.
Starlink Installation
Request a Quote
Tell us about the site and what you need. We will come back to you with a straight answer about what the work involves and what it costs.